Formatting a computer is not easy but it is necessary. There are few people who haven't suffered from a slow system caused by spyware, viruses or certain configuration settings. To begin the process, you should be aware that formatting the computer means wiping all the files you have on your hard drive, including all your photos, software programs and documents, in order to start afresh with a problem-free computer. If you're ready to undertake a deep clean to format and install Windows 7, you will first need to make a copy of Windows 7.
- Make a backup of anything you want keep (programs, photographs, documents etc.). This step is crucial to prevent data loss during the formatting process.
- Remember that programs used regularly, such as the Microsoft Office pack, for example, cannot usually be copied directly. Instead, it must be reinstalled from the original CD. Having your installation media ready will save time and prevent disruptions.
The first step to format your Windows 7 system is to turn on the computer and as soon as you see text on the screen, press the 'DEL' key to enter the BIOS. Sometimes, the BIOS can also be accessed by pressing F1, F2 or F10, and often text appears on-screen to tell you what key to press to enter the BIOS. It should be noted that accessing the BIOS might vary slightly depending on the manufacturer.
In the BIOS menu, select 'Boot Order' or another similar option, such as 'Advanced BIOS Features', which can be found in 'Advanced Options'. Note that the BIOS setup on each computer varies. Refer to your machine's user manual if in doubt. It's crucial to set the boot order correctly to ensure the installation proceeds smoothly.

Select 'First Boot Device' tab and choose the CD/DVD option so that your computer will boot from the Windows 7 CD. Make sure the following options are set: 'Second Boot Device: Floppy' and 'Third Boot Device: Hard disk'. Keeping these settings ensures your system checks for the installation media first.

Press 'F10' to retain the new settings you've just entered. Press 'Esc' to exit the menu. Remember to press 'Y' (yes) when the computer asks if you really want to save the changes. This step is critical as it locks in your changes, preventing any boot errors during installation.
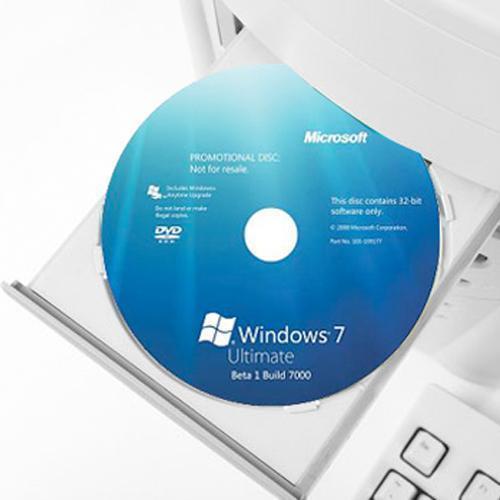
After restarting the computer, insert the Windows 7 Installation CD and wait for the computer to recognize it. This will begin the process of installing windows 7 again after being formatted. Ensure the CD is clean and without scratches to avoid read errors.

Press any key to boot from the CD/DVD. This prompt will appear briefly, so be prepared to respond quickly to initiate the boot process.

Windows will prompt you to enter the installation language, the keyboard layout, and the time/currency format. Then click 'Continue'. Choosing the correct settings here will ensure your system's regional settings are configured to your preference.

Select 'Install' and accept the Microsoft Windows licence agreement if you agree to its terms. Reading the agreement helps you understand the licensing conditions and restrictions.

You will be prompted to choose between two options: 'Upgrade' or 'Custom'. Select 'Upgrade' so that the computer performs the latest installation of Windows 7 and you will not lose any of your data. This option is ideal if you want to retain existing files and settings.

If you select 'Custom', to undertake a totally new installation, click 'New' and separate the C: Drive into two partitions for reasons of security. Partitioning can aid in data management and system performance.

Once the secondary partition (D: Drive) has been created, click 'Format'. This action will erase any existing data on the partition, so ensure any important files are backed up.

Wait while Windows installs updates and features. This may take some time, depending on your system's specifications, so ensure your computer remains powered throughout the process.

In addition to other data, such as creating a username and password, you must enter the product key. However, Windows 7 does allow you to click 'Next' if you do not have the number to hand. Make sure to activate Windows later to access all features.

Wait while the first welcome screen loads. This signals that the installation is nearing completion, and your new system will soon be ready for use.

Congratulations! You have successfully learnt how to format and install Windows 7! Enjoy your new Windows 7 operating system. Remember to reinstall your essential software and restore backed-up files to get back to your usual workflow.

If you want to read similar articles to How To Format And Install Windows 7, we recommend you visit our Computers category.
- Reinstallation disc for the operating system you were already using (Windows 7). Keeping this disc handy will ensure a smooth reinstallation process.
- Installation discs for all the programs you normally use so that these can be reinstalled. This includes essential software like antivirus, productivity tools, and any other frequently used applications.
- The drivers for your computer. These are usually found on the manufacturer's website. Installing the latest drivers will ensure all hardware components function optimally.
- Backup copies of all your important files. Use external drives or cloud services for additional data protection.