How to Change a Micro SIM to a Nano SIM


Since the arrival of iPhone 5 it's common for those of you that used to have an older version want to keep your micro SIM card on your brand new smartphone. This already happened with the launch of iPhone 4S, as many people needed to change their normal SIM to a Micro SIM card.
Though there are many specialized shops and devices that can help you change your SIM card, at oneHOWTO we want to show you how to change a micro SIM to a Nano SIM manually and efficiently.
Steps to follow:
First of all, make sure you have all of the material you need to change your micro SIM to a Nano SIM:
- A4 sheet of paper
- Scissors
- Pen
- Glue
- Ruler
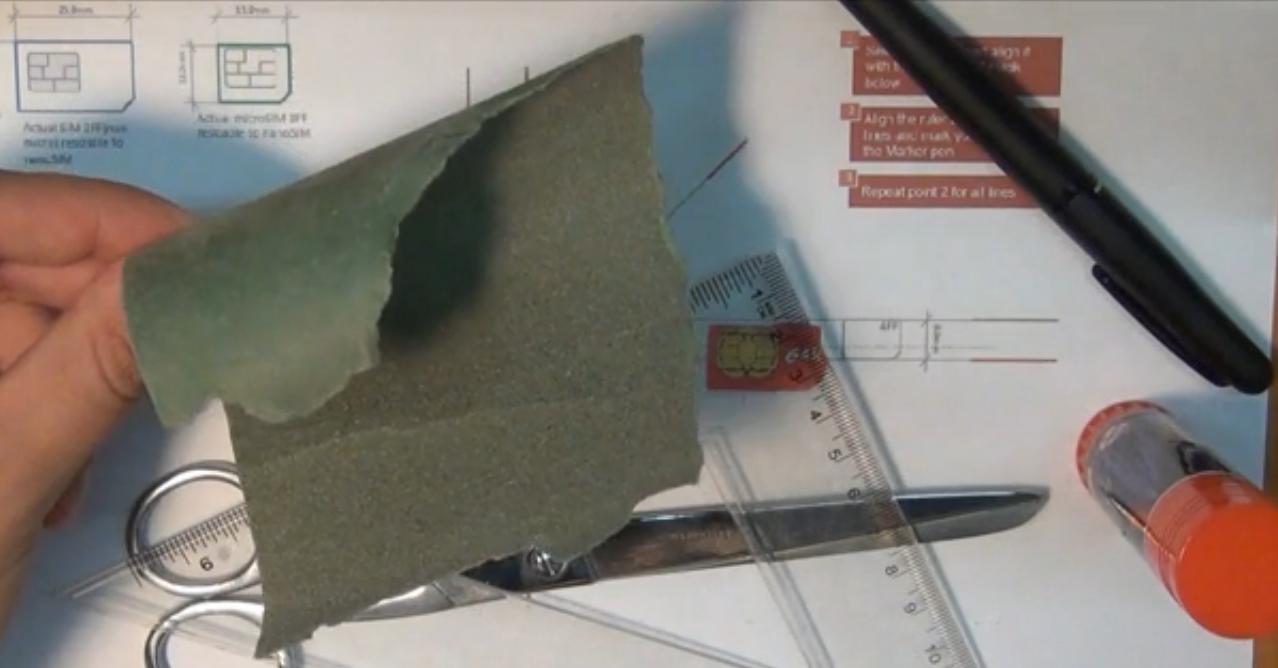
- Sandpaper

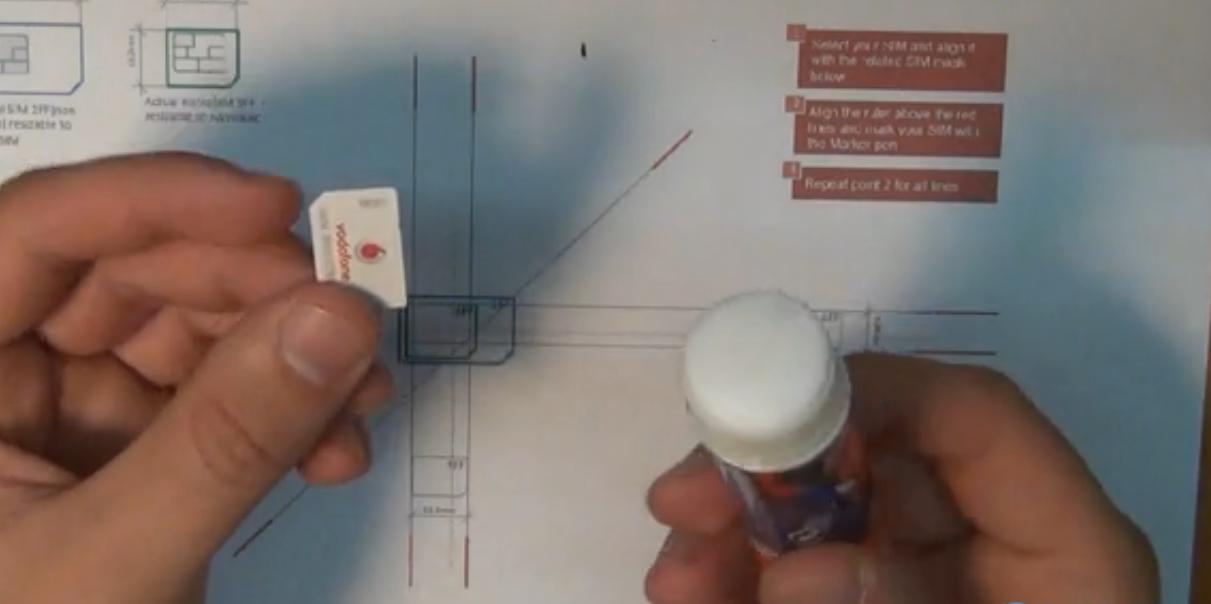
Now you have all the material you need, you can either choose to ask someone who already has a nano SIM to lend it in order to use it as a template, or print this template in the scale marked on the document.
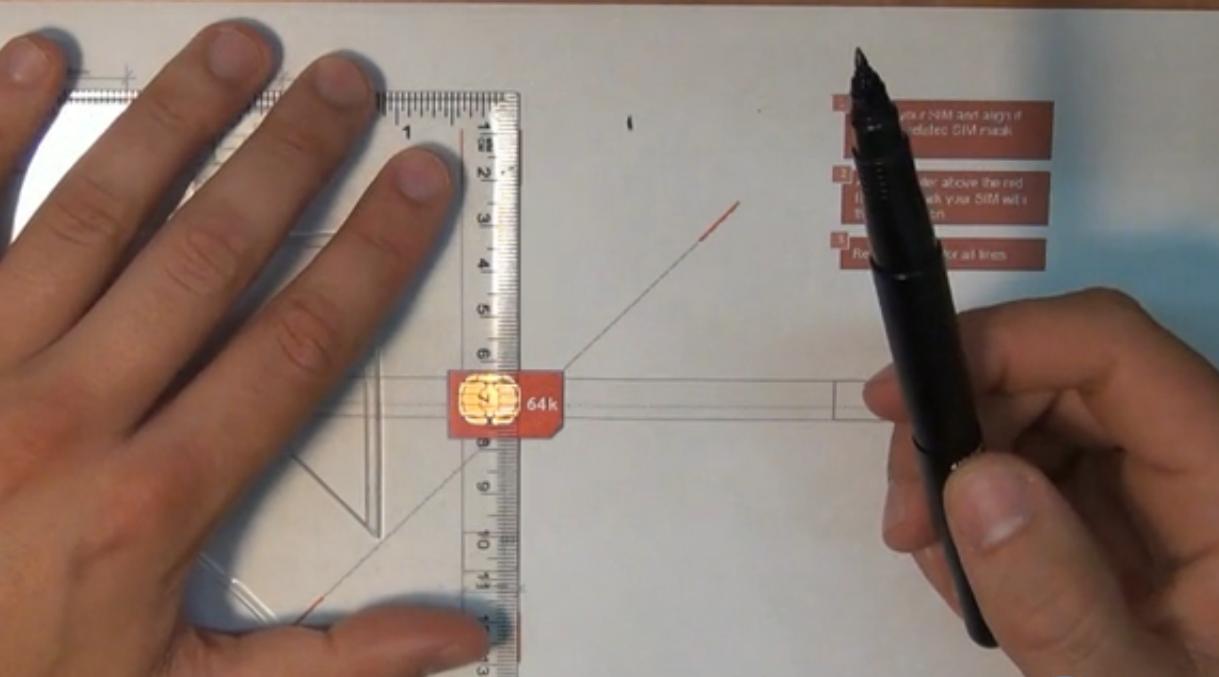
Next, stick your micro SIM card to match the shape given to you on your printed template with glue.

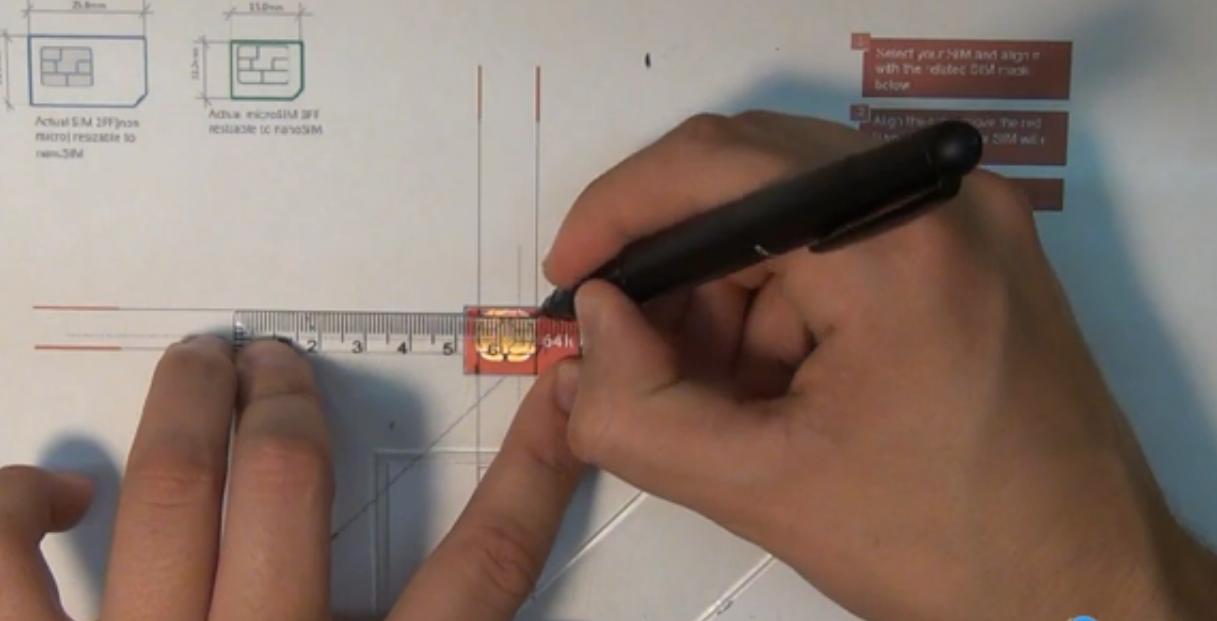
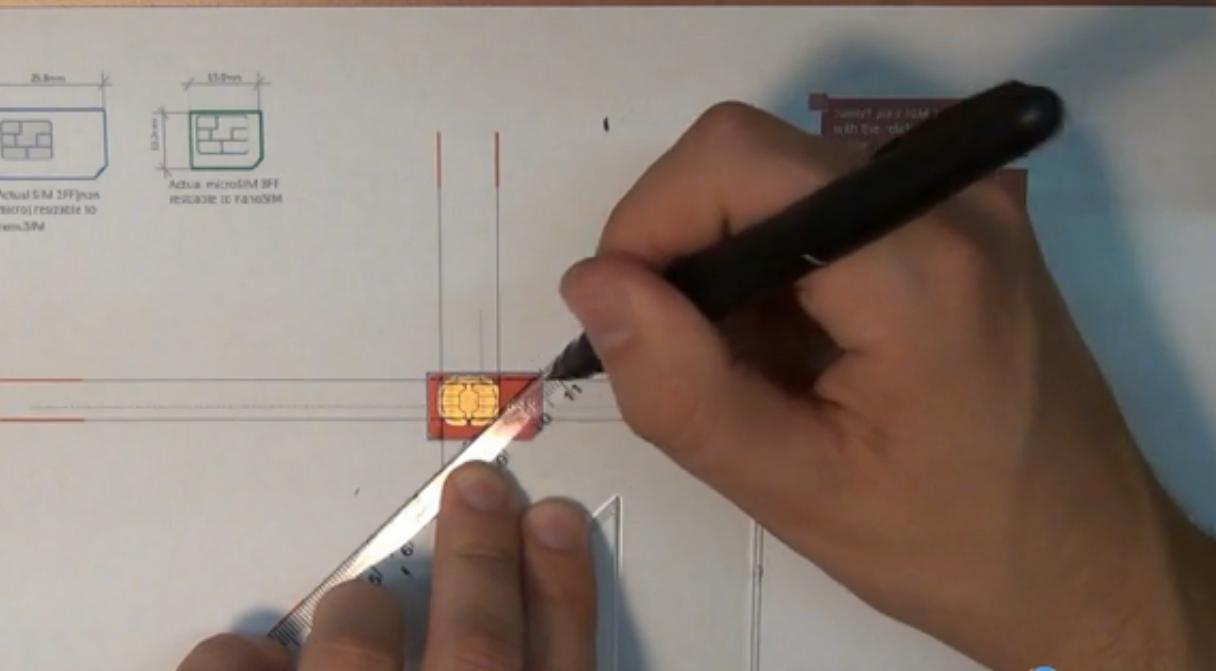
With a ruler follow the vertical lines of the template that should be lined with both sides of the micro-chip. Draw the lines on both sides of your micro SIM card with the pen and the help of the ruler so the lines are perfectly straight.

Now it's time to draw the horizontal lines as you can see in the picture. This will create the exact size of a nano SIM card.

Once you have these four lines, you should draw across the diagonal line drawn on the template, as this will make your nano SIM fit perfectly in your smartphone's sockets.

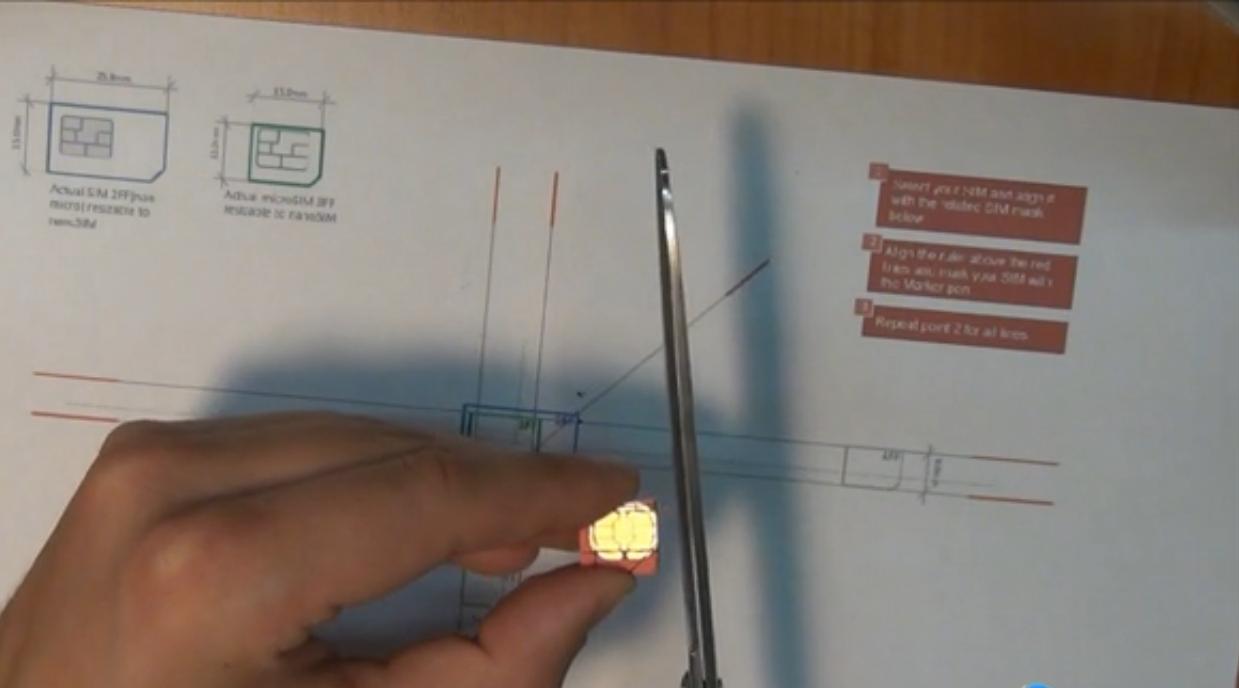
Take the micro SIM card off the paper and cut it with your scissors, carefully following the lines. Make sure your scissors are not blunt in order to cut the card perfectly.

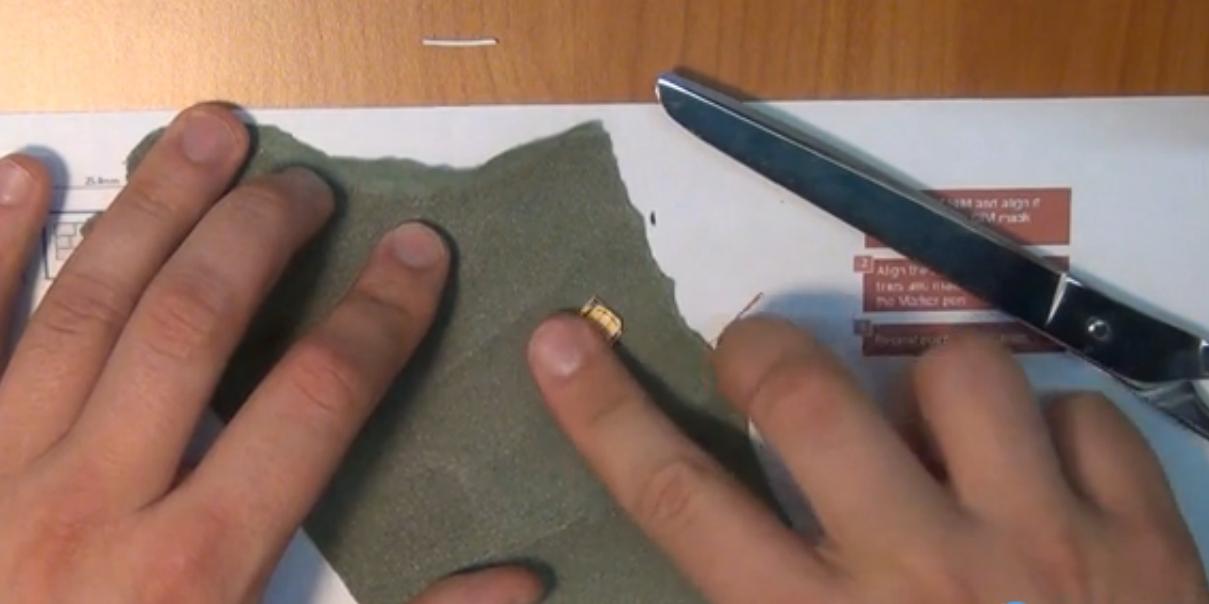
Now, carefully sand down the back of the nano SIM card with your finger. Do not sand on the side of the micro-chip. Do the same with the borders of the nano card.
Your nano SIM is now ready to be introduced in your smartphone!


If you want to read similar articles to How to Change a Micro SIM to a Nano SIM, we recommend you visit our Electronics category.


