How To Make A GIF With Photoshop CS6


Now that gifs are so fashionable, you may have asked yourself how to make them. There are many tools that can be used, and Photoshop is of course one of them. The process is rather long but really nothing complicated. You just need to select the pictures you want to convert into a gif, add a little patience and you'll get there. Don't know where to start? At OneHowTo.com we tell you how to make a gif with Photoshop CS6.
Steps to follow:
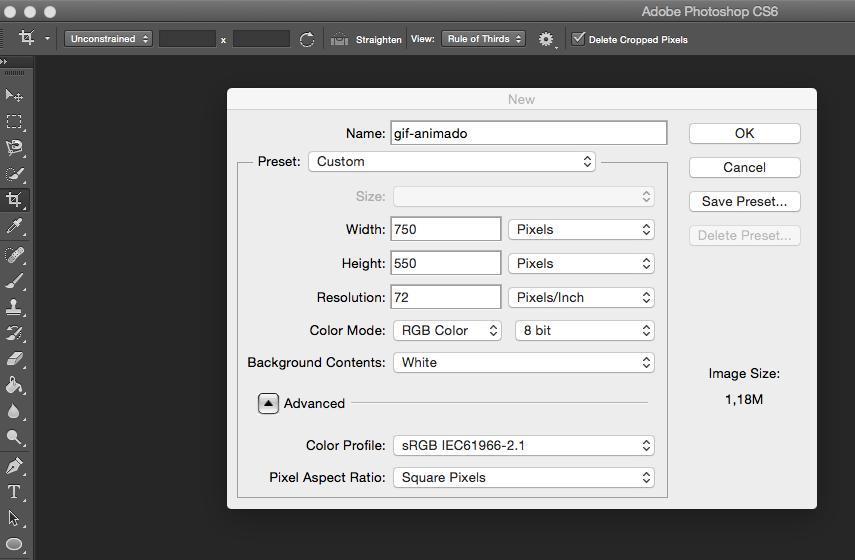
The first step to make a GIF with Photoshop CS6 will obviously be to open Photoshop CS6 and go to File>New. Name the file, choose the size you want your GIF to be, make sure the resolution is on 72 and click 'OK'. To ensure the best quality, it's important to decide on dimensions that match your intended display size.

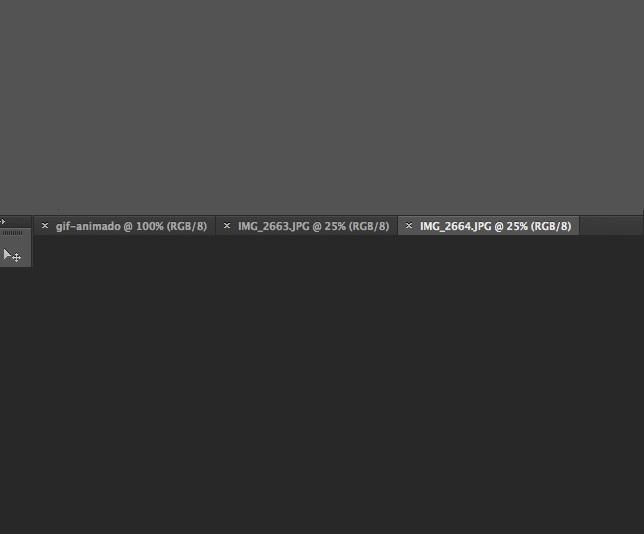
Go to File>Open and select the images that you want to use to make your animated gif. Click Open. They will open as new tabs on the work surface. Choosing images with consistent lighting and color tones can greatly enhance the final appearance of your GIF.

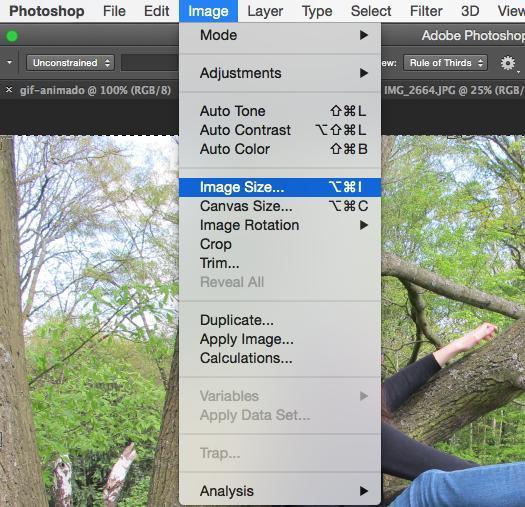
Adapt each of the images to the size you've chosen for the gif. To do this, with each image go to Image>Size of image and enter the appropriate number of pixels. Consistency in image size is crucial for a smooth animation effect.

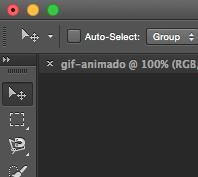
Selecting the tool "Move" from the left column (which is an arrow), drag the images to the white canvas created earlier. They will become different layers of the image. Ensuring your images are aligned correctly on the canvas can prevent unwanted shifts in the animation.

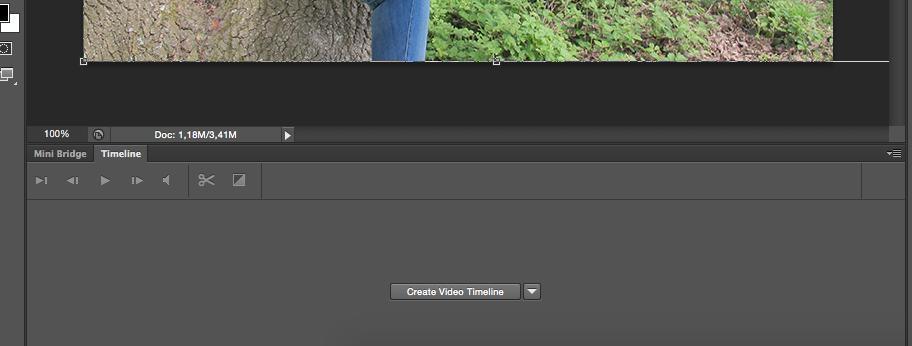
Then go to Window>Timeline. A new panel below the image will appear. This timeline is essential for controlling the timing and sequence of your animation frames.

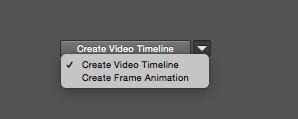
In the dropdown menu in the middle of the timeline, select "Create frame animation" and click on the text. This step is pivotal as it converts your layers into frames for animation.

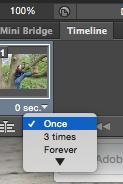
In the lower pane of the Timeline, click where it says "Once" to see the different options. Here you will select how many times you want it to repeat the sequence. The usual choice is "Infinite". This ensures your GIF continues looping seamlessly.

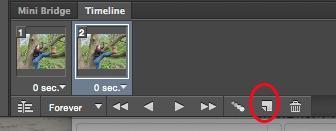
Also in the lower panel, click on the icon that is like a blank page with a folded corner. You'll see a new frame on the timeline. Press it until you have as many frames as there are images in your gif. Adding frames appropriately is crucial for maintaining the desired animation flow.

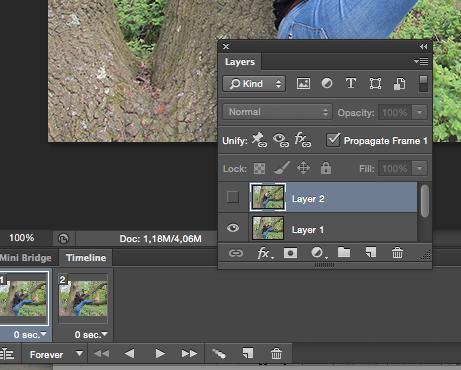
Select the first frame. Then go to the "Layers" panel and click on the eye in all layers other than the first. This will mean that at the start you see that first image. In the second frame, the process repeats, leaving in this case the eye display visible only for the one you want to use as the second image. And so on until you're done with all layers. Paying attention to layer visibility is key to ensuring each frame displays correctly.

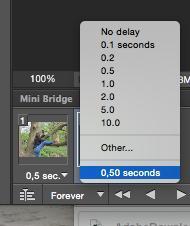
If you look under each timeline frame a unit of time (0 seconds by default) appears. Change them to set the time you want each of the images in your gif to appear for. Typical times range from a fraction of a second to a few seconds, depending on the effect you wish to achieve.

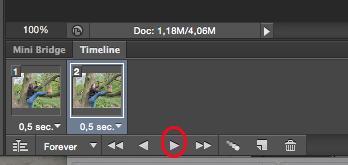
Click the button "Play" at the bottom of the timeline to see how your gif will look. Adjustments at this stage can help in refining the timing and flow of your animation.

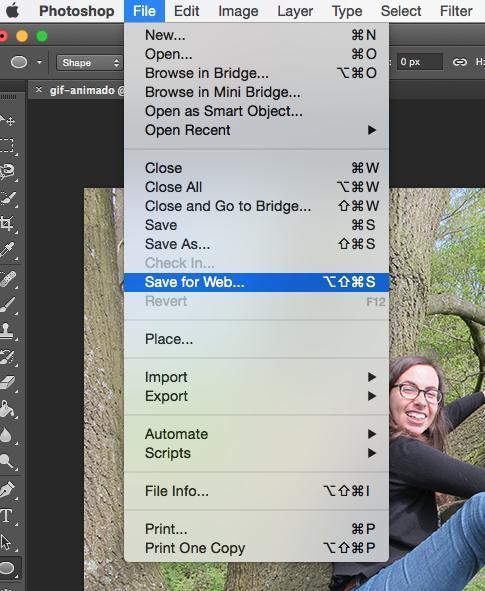
Satisfied? Go to File>Save to web and save in the GIF format. Leave everything else as it is... and it's ready! You've created a gif with Photoshop CS6. Consider the file size if you'll be sharing your GIF online; optimizing might be necessary to ensure quick loading times.

If you create a GIF out of a Youtube video, you will probably have to take a screenshot of each frame and use the captures as pictures. This method can be time-consuming but is effective for creating GIFs from video content.
If you want to read similar articles to How To Make A GIF With Photoshop CS6, we recommend you visit our Software category.


