Step by Step Guide to Formatting Your Computer


Formatting a computer isn't always easy, but it is necessary. Many users have to deal with a slow browser because of various spyware or viruses, and settings. Before beginning this process, you should be aware that reformatting your computer will mean losing all the files you have stored on your hard drive. All your photographs, programs and documents will be deleted and you will have to completely start from scratch with your computer, which could be a problem. If you are ready to completely wipe and reinstall a new operating system, we recommend reading our 'Tips and Tricks' section first as well as 'What You Need' which you can find at the end of this article. After having done this, come back and read this article. For this guide, we have used Windows XP.
You'll need:
- Reinstallation disc for your previous operating system (Windows Vista, XP...)
- You can reinstall all programs that you normally use with their CDs.
- Your computer's drivers: you can usually find these on the manufacturer's website.
- Back up all important files.
Steps to follow:
Insert your Windows XP disc and turn on or restart your computer.
After the Setup has automatically copied the drivers, it will prompt you to install Windows XP on your computer. Press 'Enter' to affirm.

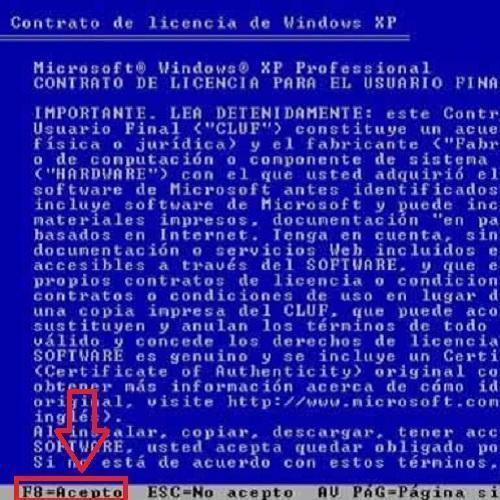
Accept the license agreement by pressing F8.

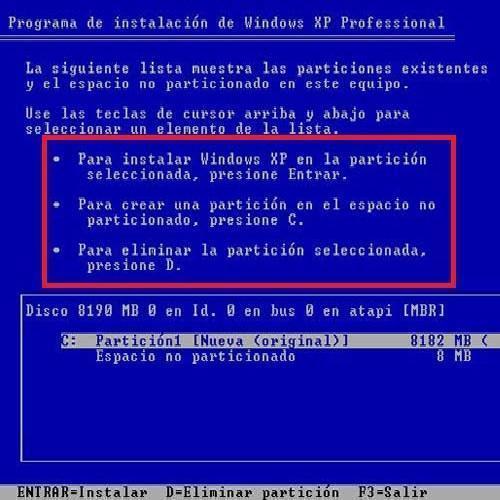
On the next screen, Windows will prompt you to select a hard drive to install the operating system. We recommend completely deleting the first option on the list, i.e. partition1. To do this, select it and then press 'D'. Then press 'L' to confirm complete partition removal.

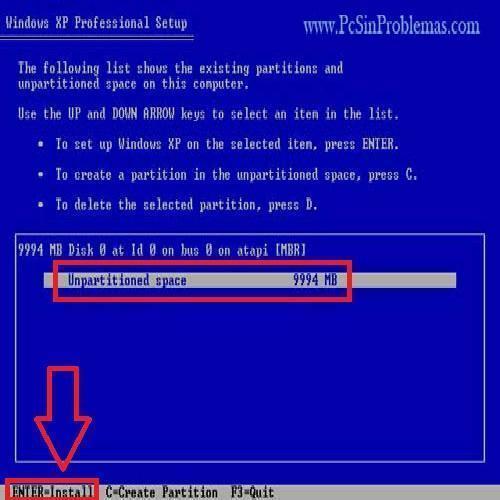
The screen should now say 'Unpartitioned space xxxxMB'. Using the arrow keys, select your partition and press 'C' to create the hard disk partition. The next screen will allow you to resize the partition; select and hit 'Enter' to continue.

Using the arrow keys, select the 'C' partition; this time it will appear with some brief details and size in MB. To install your copy of Windows XP onto it, press 'Enter'.
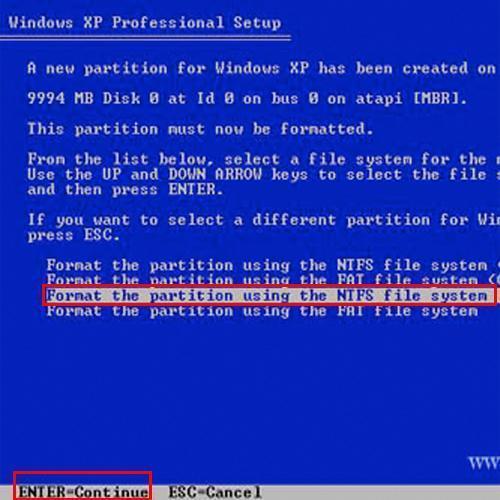
On the next screen, select the file system you prefer for formatting the hard disk. We recommend selecting 'NTFS file system (Quick)', so that you don't have to wait too long. Then press 'Enter'.

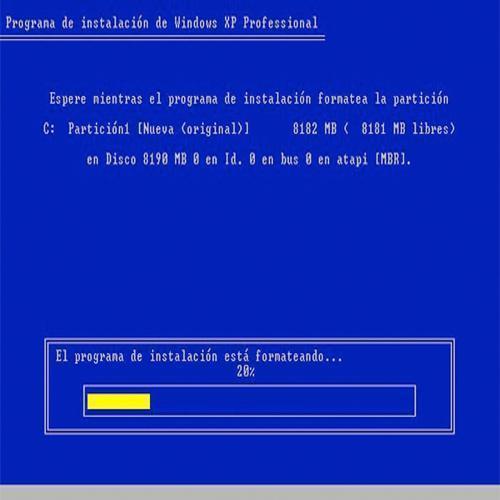
Setup is now formatted and will later restore your files and settings.

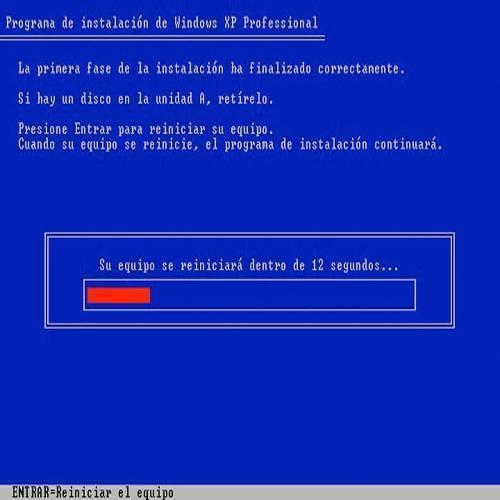
After copying the files, your computer will restart automatically.

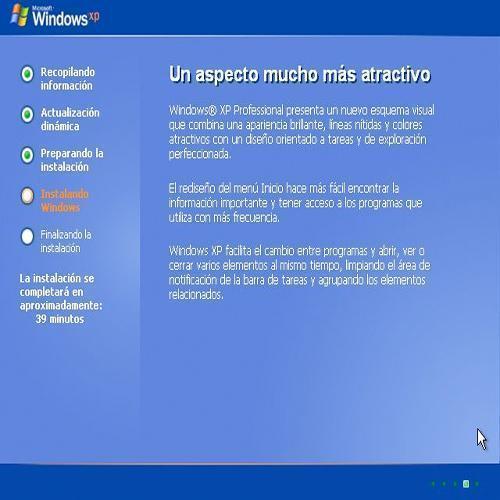
When it restarts, it will automatically start to install Windows XP.

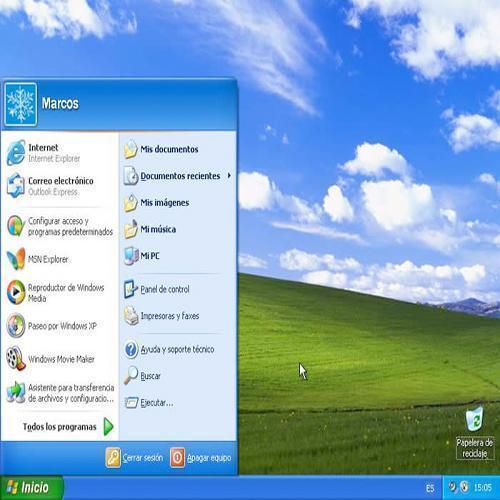
Once you've filled in all the installation prompts - simple details such as your name and product key - Windows XP will appear on your screen with the start menu and it's ready to use!

If you want to read similar articles to Step by Step Guide to Formatting Your Computer, we recommend you visit our Computers category.
Tips
- Back up everything you want to keep (programs, photographs, documents...).
- Remember that programs you use regularly such as Microsoft Office, normally cannot be copied directly but must be re-installed from the original CD.
- Choose the FAT file system instead of NTFS, if your computer had a virus or disk errors before reformatting.
- If your hard drive is new, your computer will skip over step 4.


